



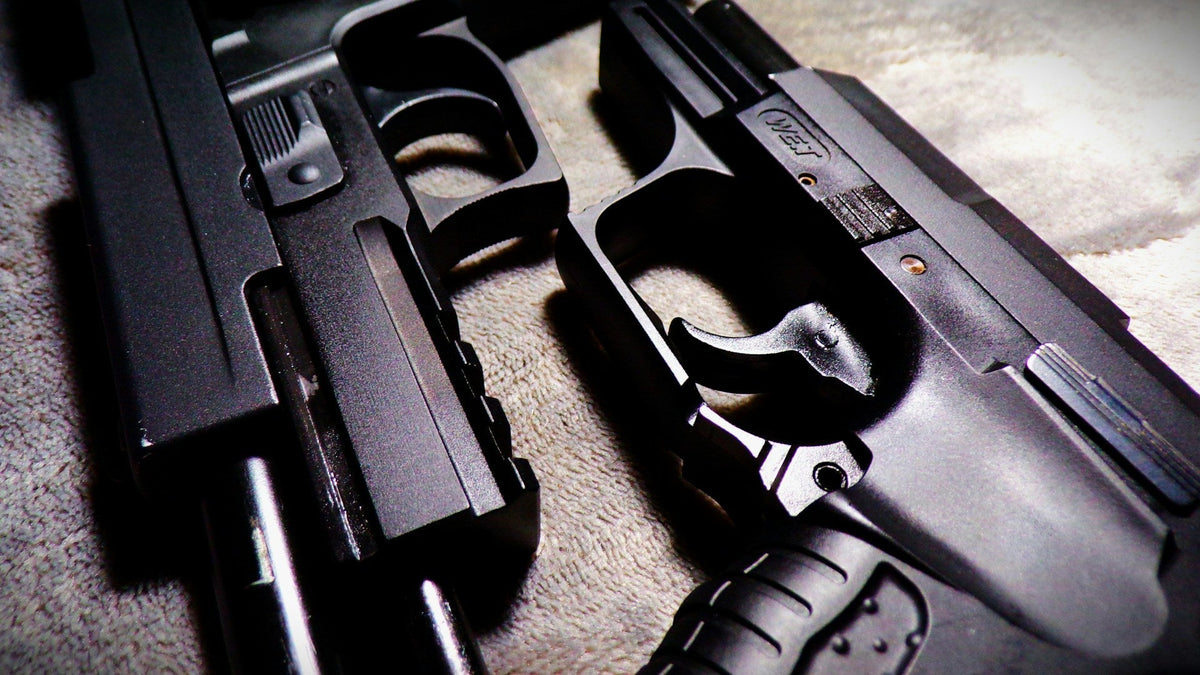
Stop Installation Mistakes Before They Jeopardize Safety
Installing vehicle handgun mounts is not just another weekend upgrade. It is a safety job that sits a few inches from your legs, your family, and your defensive firearm. When the mount is wrong, everything around it is at risk.
A sloppy install can let a gun break loose under hard braking, on a washboard country road, or in a minor crash. It can twist the frame, ding sights, or push the gun into a spot where it is hard to reach when you actually need it. It can even raise legal or liability problems if the gun slides into view or out of reach.
At VULCAN Arms, we focus on defense-minded gear, so we think about real driving: summer heat, long trips, sudden stops. In this guide, we will walk through how to spot problems, fix common mistakes with mounting surfaces and fasteners or adhesives, run simple vibration and retention checks, and reinstall with a setup you can trust when you are on the road.
Spotting Red Flags in Your Current Vehicle Handgun Mount
Most bad installs do not fail all at once. They start with little hints. The mount shifts just a hair every few days. A faint squeak shows up when you hit rough pavement. The gun does not sit quite as straight as it did last week.
Common warning signs include:
-
The mount walks out of position over time
-
Small rattles or chirps over bumps or gravel
-
Gaps you can see between the base and the panel
-
The gun leaning or twisting at a strange angle
Functional red flags matter even more. If you have to fight the mount to get a clean draw, that is a problem. If you need two hands to break the gun free, or you feel the barrel or grip blocking seat belts, center console lids, or climate controls, your setup is working against you.
For a quick at-home summer check, try this after a week of normal driving, including hot afternoons, road work, and errands:
-
Look at every screw or bolt head for backing out or tilting
-
Run a finger along the edges of any adhesive base to feel for peeling
-
Press on the mount from different directions to see if it flexes or rocks
-
Draw and re-holster slowly, watching for snags or spots where you lose your grip
If anything feels loose, sticky, or awkward, treat that as a clear signal to review your install before your next long drive.
Mounting Surfaces That Fail Under Real-World Driving
Not every spot inside a vehicle is ready for the weight and stress of a firearm mount. Thin plastic trim can look solid, but it can bend like cardboard once you add weight and vibration. Metal structure under the dash or along the console holds much better, but it is not always easy to reach.
Here are common surface mistakes we see:
-
Mounting directly to flimsy kick panels or lower dash plastic
-
Sticking mounts on curved or heavy-textured pieces that cut real contact area
-
Choosing zones that sit in direct sun, where July heat cooks both plastic and adhesive
-
Clamping to parts that move, like seat rails or adjustable panels
When you are hunting for a stronger spot, feel for:
-
Solid, non-flexing areas when you push hard with your thumb
-
Sections where you hear a solid thud instead of a hollow tap
-
Locations that do not move when the seat slides or the console lid opens
Before any reinstall, clean the area thoroughly. Wipe off dust, then degrease so there is no silicone, protectant, or skin oil on the surface. Magnetic handgun mounts, like the ones we build at VULCAN Arms, work best on flat, firm, well-prepped surfaces. When you match the mount to the right surface and follow the maker’s guidelines, reliability improves right away.
Fasteners, Adhesives, and the Heat of Summer Roads
How you attach vehicle handgun mounts matters just as much as where you put them. Screws, bolts, industrial adhesive pads, and mixed setups all behave differently when the cabin feels like an oven.
Pros and cons in simple terms:
-
Screws: Good grip if they bite into strong material, but bad if used in thin plastic
-
Bolts with nuts or backing plates: Strongest, but usually harder to reach and install
-
Automotive-grade adhesive: Clean look, spreads load, needs proper prep and cure time
-
Hybrid screw and adhesive: Extra security if done on a solid base
Common mistakes include:
-
Using wood screws that strip or crack trim
-
Slapping on generic double-sided tape not meant for high heat
-
Skipping cleaning so adhesive sticks to dust instead of the panel
-
Overtightening until the plastic bows or fractures
Summer makes all of this worse. High temps can soften weak adhesive and let the mount creep. Plastics expand then shrink back overnight, slowly loosening poorly sized hardware. If you see any glue creep, stress whitening, or spider cracks, it is time to fix it.
Better steps include:
-
Swapping weak fasteners for automotive-grade hardware sized for the panel
-
Carefully prying and peeling failed adhesive, then cleaning off all residue
-
Using the adhesive type, pressure time, and cure time suggested by the mount maker
-
Giving adhesive mounts a full cure before hanging a loaded firearm on them
Vibration and Retention Tests to Prove Your Setup Is Safe
Once your mount looks good, you still need to see how it behaves when the car actually moves. Simple vibration checks can tell you a lot before you hit the highway.
Try this basic sequence in a safe area:
-
Close doors firmly while watching the mount and gun
-
Drive slowly over speed bumps while a partner watches and listens
-
On a quiet road, roll over small potholes or rough patches at moderate speed
If you see wobble, bounce, or hear new rattles, your mount is not locked in yet.
Retention tests focus on two things: your draw and the mount’s grip on the firearm. From your normal driving position:
-
Practice a slow, one-handed draw at different angles
-
Make sure you do not have to twist your wrist into a weak position
-
Check that the firearm does not shift or sag when you brake firmly in a safe, controlled spot
If you feel anything move, adjust one thing at a time: tighten hardware slightly, tweak the angle, or move the mount a small distance. Then repeat the tests. A defense-focused setup should feel steady, quiet, and predictable, so when stress spikes, your muscle memory works like it should.
Reinstall With Confidence and Upgrade Where It Counts
Sometimes the best fix is a clean do-over. That means taking the old mount off the right way, not just ripping it free. Remove fasteners carefully so you do not strip holes you may want to reuse. Peel adhesive slowly and clean until the surface is smooth, dry, and free of residue.
From there, build a plan:
-
Pick a firmer mounting area with real structure behind it
-
Choose hardware or adhesive that matches that surface and the weight of your firearm
-
Follow the install steps from the mount maker without skipping prep or cure time
-
Run vibration and retention tests before you trust the setup on a long trip
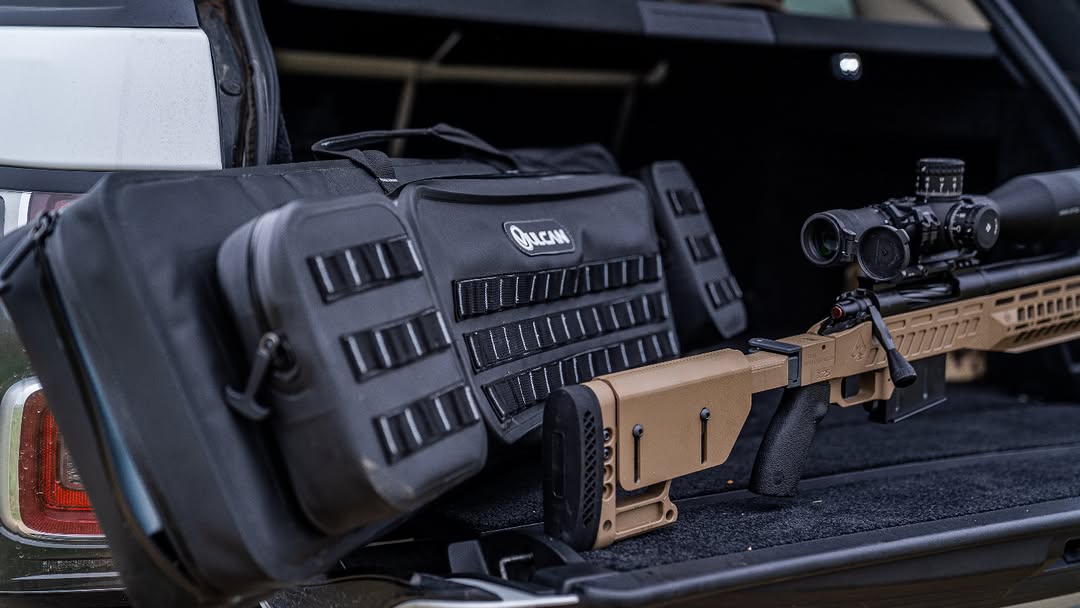
If your current mount keeps failing, it may be time to upgrade to a higher quality magnetic vehicle handgun mount that is built for defense use. Pairing a solid mount with a protective case, like a weather-focused firearm case for long road runs, and keeping your firearm clean with proper solvents and oils, helps your gear handle heat, dust, and daily carry. At VULCAN Arms, we build our accessories for people who actually drive with their guns, not just for a tidy look in the garage, and a careful install brings that performance to life.
Secure Your Firearm With Confidence On Every Drive
Stay prepared and in control with vehicle setups that keep your handgun safely accessible when it matters most. At VULCAN Arms, we design our vehicle handgun mounts to fit your firearm securely without getting in the way of your daily routine. Whether you are commuting, traveling, or on duty, we help you build a setup that matches your needs and your vehicle. Explore our options today to upgrade both your safety and your peace of mind on the road.
Share:
Everyday Situations That Call for a Vehicle Handgun Mount
Everyday Situations That Call for a Vehicle Handgun Mount