





Protect Your Firearm Investment with Smarter Cleaning
Good guns are not cheap, and many of us trust them to protect the people we care about most. That is why the way we clean them matters so much. Using the wrong gun cleaning solvent, or using the right one in the wrong way, can slowly eat away at accuracy, reliability, and even resale value.
Solvents are important. They break down carbon, copper, and stubborn fouling so your barrel stays sharp and your action runs smooth. But some products, and some habits, can strip finishes, swell polymer parts, and even start tiny pits inside the bore. Those problems rarely show up after one cleaning. They sneak up after months of bad habits.
We put this guide together as a practical, defense-focused look at common solvent mistakes many gun owners make, especially when summer range time ramps up. If you run polymer pistols, AR-style rifles, shotguns, or carry optics, a few simple changes in how you clean can help keep your firearms ready when you need them most.
Avoid "One Size Fits All" Gun Cleaning Solvent Thinking
Not every firearm likes the same gun cleaning solvent. Different platforms use different metals, coatings, and plastics, and they do not all react the same to strong chemicals.
Think about how many materials can live on a single setup: a polymer-frame pistol with a steel slide, a Cerakote-finished optic plate, rubberized backstrap, night sights, and a mounted red dot. That is a lot of surfaces to risk with a harsh, all-purpose cleaner.
Here is what the wrong solvent can do over time:
-
Strip or dull protective finishes like bluing or parkerizing
-
Cloud or stain lens coatings on optics and red dots
-
Soften rubber or plastic parts like grips and magazine followers
-
Dry out O-rings, seals, and small polymer spacers
Some general cleaners from the garage shelf are made for engines or tools, not precision firearms. They might cut through carbon, but they can also cut through finishes or protective films you really want to keep.
A better plan:
-
Read your firearm manual and your solvent label together
-
Check for warnings about plastics, coatings, and optics
-
Stay with quality gun-specific cleaners from known brands
-
Keep one solvent for heavy fouling in the bore and a gentler one for general wipe-down
The goal is simple: match the cleaner to the gun, not the other way around.
Stop Over-Soaking Parts and Ignoring Contact Time
There is a big difference between "let it sit for a minute" and "leave it soaking for an hour." Many gun cleaning solvents are designed to work fast. They do not need a long bath to do the job.
When parts sit in solvent too long, a few things can happen:
-
Factory oils and protective grease get stripped off
-
Metal surfaces dry out and become more open to rust
-
Residue can trap moisture in tight spots, starting corrosion later
Summer heat makes this worse. When it is hot and humid, chemicals react faster, and thin layers of solvent can flash off, leaving bare metal behind. A slide or a barrel forgotten in a plastic tub of cleaner in a warm garage can come out looking fine, but inside, it may be ready to rust the second moisture hits.
Better habits are simple and fast:
-
Apply solvent with patches, brushes, or a nylon toothbrush, not a soaking tub
-
Follow the contact time on the bottle, usually just a few minutes
-
Scrub, then wipe the part dry with clean patches or a rag
-
After you are sure it is clean, re-lube right away before storage
Think "targeted cleaning," not "chemical bath." Your gun will last longer, and you will use less product too.
Keep Solvent From Creeping Where It Should Never Go
Solvent almost always flows where gravity pulls it, and it loves to creep into small gaps. That can be a real problem around optics, electronics, and fire control parts.
Here are a few risky spots:
-
Under red dots and into the lens housing, causing fogging or haze
-
Inside weapon lights or lasers, breaking down seals and coatings
-
Under grip panels and into wood stocks, causing swelling or finish lifting
-
Into trigger groups, safeties, and firing pin channels
Spraying directly into tight areas might feel like you are flushing out more gunk, but it can also drive liquid deep into spaces that are hard to dry. In defensive guns, that can lead to sluggish triggers, sticky safeties, or weak primer hits.
Safer techniques:
-
Spray solvent on the tool, not the gun, then work the area
-
Use Q-Tips, cotton patches, or small brushes for fine spots
-
Point the muzzle or parts so solvent drains away from optics and internals
-
Use painter's tape or lens covers over glass before cleaning the rest of the slide
Slow and controlled is better than fast and messy, especially when your optic or light is part of your defensive plan.
Do Not Skip the Final Wipe-Down, Drying, and Re-Lubing
Many cleaning problems do not come from the solvent you choose; they come from what you forget to do at the end. Leaving solvent in the bore or around the action can cause more trouble than the fouling you just removed.
Leftover solvent can:
-
Pull moisture out of the air and hold it against metal
-
Mix with powder residue and turn into sticky sludge
-
Wash away thin films of oil that keep parts moving smoothly
That is how you end up with guns that feel "gummy," have light strikes, or show light rust in surprising places.
A better end-of-cleaning routine:
-
Run dry patches through the bore until they come out clean and dry
-
Wipe all metal surfaces with a clean cloth, including rails and lugs
-
Add the correct lube to contact points, then lightly wipe away the extra
-
Use a rust-protectant on carry guns that see sweat and daily handling
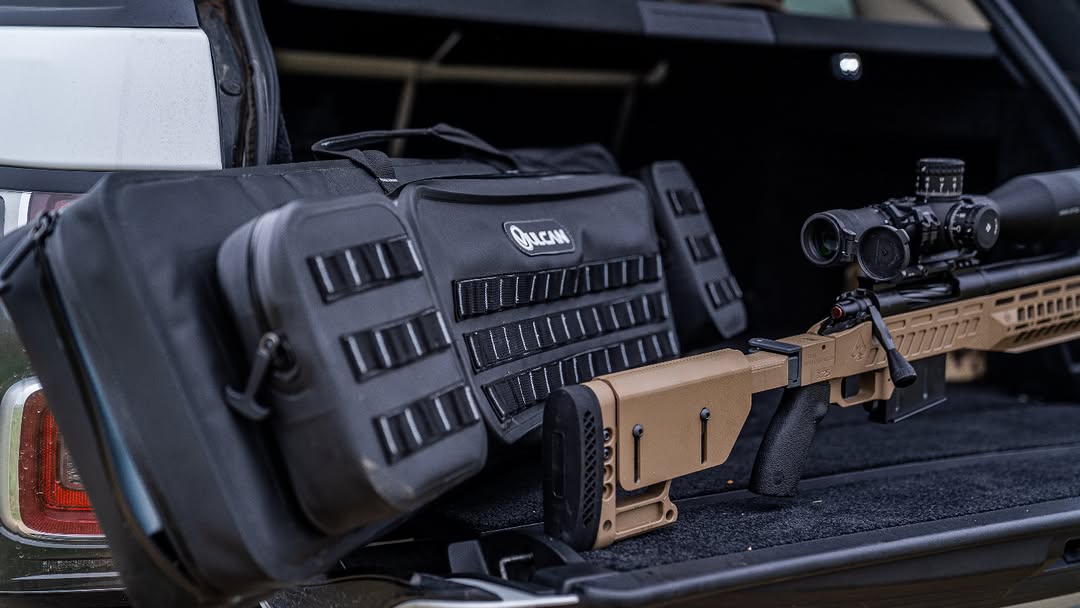
Once the gun is fully dry and lightly oiled, smart storage helps too. In hot, humid weather, sealing your firearm in a quality case that controls moisture keeps humidity and old solvent fumes away from metal parts. That kind of storage support locks in the work you just did at the bench and helps prevent long-term solvent damage.
Upgrade Your Cleaning Routine Before Your Next Range Day
Before your next summer trip to the range, it is worth taking a few minutes to think through how you clean your firearms. Little changes here prevent big headaches later.
Here are the main mistakes we see:
-
Treating one gun cleaning solvent as right for every firearm and finish
-
Soaking parts for long periods instead of short, targeted contact
-
Spraying solvent everywhere and letting it creep into optics and internals
-
Skipping the final dry and re-lube step after cleaning
A simple checklist can help:
-
Right solvent for your gun and its finish
-
Apply to tools, not blindly onto the gun
-
Short, guided dwell time, then scrub
-
Dry completely, then lube and protect
-
Store in a controlled, protective case, not a damp corner
At VULCAN Arms, we care about keeping defense-focused firearms ready, not just shiny. Building a smart cleaning kit with quality gun cleaning solvent, purpose-built brushes, and protective storage like WeatherLock cases gives your guns a better chance of staying reliable, accurate, and ready for whatever training or real-world need comes next.
Keep Your Firearms Performing At Their Best
Choose the same gun cleaning solvent we use at VULCAN Arms to cut through stubborn carbon and residue quickly. Our formula helps protect your firearms, extend their service life, and make cleaning less of a chore. If you are serious about reliability and accuracy, upgrade your cleaning routine today with a solvent designed for demanding shooters.
Share:
Understanding Gun Cleaning Solvents for Modern Firearms
Understanding Gun Cleaning Solvents for Modern Firearms